In the grand convergence of Elune and the Winter Queen, a miraculous creation emerged which was called The Sisters' Tear. With this being much more than an artifact, the item represented the very essence of renewal—an emblem of hope and fresh beginnings. The fallen Night Elves made a deliberate choice to be part of this rebirth of Night Elven society and culture, using their souls to create the foundation for their race’s resurgence.
This new seed of the World Tree represented the fusion of the Emerald Dream and the cosmic energies of Ardenweald. It stands as a living testament to the unending cycle of life and death, which features heavily in Night Elven culture and beliefs. Under the guidance of Tyrande Whisperwind, this seed was planted within the Emerald Dream, protected and fostered by the custodians of nature and the Keepers of the Dream. The growth of this seed was a serene journey toward becoming a towering World Tree, a Night Elven symbol of life and change.
Ysera, the previous Aspect of the Green Dragonflight, returned from the Shadowlands. She stands as a pillar of right and just, thwarting those who seek to claim the Emerald Dream as their own. The Green Dragonflight stood as unwavering Guardians of the Dream, poised to shield Amirdrassil from impending danger. Despite this vigilant guardianship, a new threat emerged. Fyrakk and his forces, having recently been joined by allies, the Druids of the Flame in service to the new Fire Lord. As adventurers, we have not seen this collection of Druids since the Cataclysm and it was thought that they had sputtered out like a damp squib. This unlikely group of enemies sought destruction to remove the taint of the titans for the Druids to make way for the Firelands.
Together, Heroes of Azeroth bear arms with all our spells and weapons, setting aside all old grievances. We present a united front to protect the very life essence of Azeroth against the mounting odds. We will stand resolute in defence of the World Soul that so many have sought to destroy, corrupt or bend. Whether you be Horde or Alliance, we stand shoulder to shoulder- brothers and sisters united in the defence of Amirdrassil and the Emerald Dream.
Lore
Guide by Zippy@Starship🌈
Lore credit: Talvi@Starship🌈
Special thanks to: Joe Perez of Blizzard Watch
Last updated: 21/11/2023
Route Map
Gnarlroot Simplified
Dodge the bad.
Run out on Normal / Activate adds with Kazzara-circles on Heroic.
Kill adds.
Intermission: (Catch soaks on Heroic) and run at roots to burn them.
-
An alternating single phase plus intermission encounter.
Some light avoidance/dodge mechanics.
-
Periodically spawns adds near himself.
Dodge general fiery bullshit.
Players will be marked with a bigger Kazzara-circle (Controlled Burn). Run it away.
-
Boss is now immune and spawns a bunch of roots. The Kazzara-circle fire also goes away.
Spread out in the arena to ensure all roots can be easily reached. You get a circle on you and, when it disappears, you can walk near the boss’s roots to burn them. They all must burn before you get back to P1.
Constant pulsing damage in this phase.
If you’re not doing a job, hug your healer.
-
Standing in bad.
Not activating enough adds in P1. (Heroic only)
-
Placing Controlled Burn on other players. However, on Heroic, the player with Controlled Burn has positioning priority over anyone without.
-
Pulsing damage in P1, more bigger pulsing damage in intermission. 10% more damage after each intermission.
-
After intermission, as you get a 100% damage increase.
🏆 Heroic Changes
Adds now spawn inert and need to be activated.
Drop the Kazzara-circles on the inert adds to activate them and kill them.
Hit as many as you can, but won’t wipe if you miss a few.
Note the adds deal raidwide damage on activation. (This also happens on Normal, but you can’t avoid adds activating on Normal)
During the intermission, you now need to stand in a soak before you can burn roots. Soaks spawn in every quadrant.
Igira Simplified
Don’t stand with tanks.
Put spear circles near each other for cleave.
Know if and when you’re supposed to soak in the intermission.
Dodge the bad.
-
No strict phase order. Starts with no weapon, then you can choose Sword, Dagger, or Axe.
-
Marks several players with circles which spawn a spear. Shadowflame goop will stay around the spears until they are killed. Ideally ranged players kill these, but the goop doesn’t deal too much damage for the melee to help.
Sometimes shoots out swords in a frontal. It’s Amalgamation Chamber fireboi tornadoes but they’re swords now!
At 100 energy, raid wide and knockback. 3 big soaks will spawn that shrink like Magmorax puddles, choose one, the soak you choose will determine the next phase.
Probable difficulty order is (most)Dagger ->Sword -> Axe(least).
Best order is determined by how quickly you kill her, but on prog it’s probably best to do them in order from most to least dangerous as the healers will have mana and cooldowns for the worst part.
Swirlies bait on players during this as well, so the soak may be covered with swirlies. If struggling, using immunities for the last part of the soak may help.
-
Axe
Big ol’ soak. Happens twice, so split raid in half with one tank in each half.
Sword
Marks two players with big circles and jumps to them. Think Rashok jumps but without the fiery pillar.
Dagger
A bunch of players are hit by a heal absorb. Heal through or suffer raidwide damage.
-
Standing in bad
Soaking twice (Heroic only)
Standing on the tanks outside of Axe soak.
-
Standing on top of other players with Sword jump
-
During the weapon-picking phase, the boss pulses with damage and there are a lot of swirlies around.
Be aware of the dagger phase’s heal absorb
-
On pull.
🏆 Heroic Changes
Players take double damage from soaking weapons for the rest of the fight. Split into groups a la Zaqali Assault door soak.
In sword phase, swirlies now erupt in a cross pattern out from the circle.
In dagger phase, orbs now shoot out from every heal absorb’d player after they are healed through. You can survive being hit by one, but not more, so spread out before being healed.
In Axe phase, each player can now only soak once. Split raid in half.
Volcoross Simplified
Split into teams.
Dodge the bad.
Stay near-ish the growing lava puddle.
Run circles away.
-
Terros 2: Fiery Boogaloo.
Just one phase.
-
Split group into 2 halves which will circle in opposite directions around the arena, starting at the same spot initially and ending up together again at the end.
At 100 energy, the boss does two soaks on each side of the arena, which will then cause growing lava pools. Split into your group and soak.
Afterwards, he will spit fire at everyone. Heal through. Then several players get marked by circles. Run them away. These circles will jump to other players before eventually disappearing.
Eventually, he will slam the platform with his tail, indicated by a shadow on the platform. Don’t get hit.
Sometimes swirlies will bait on players. They leave puddles, but they disappear before the next big soak.
-
Standing in fire. Especially standing in player circles when the circles are small.
-
Standing on them with your fire circle
-
Constant passive damage.
After every soak, he will deal a ton of damage.
Tail slam does minor raidwide damage.
-
On pull.
🏆 Heroic Changes
Tail slam now spawns lava waves. Dodge them.
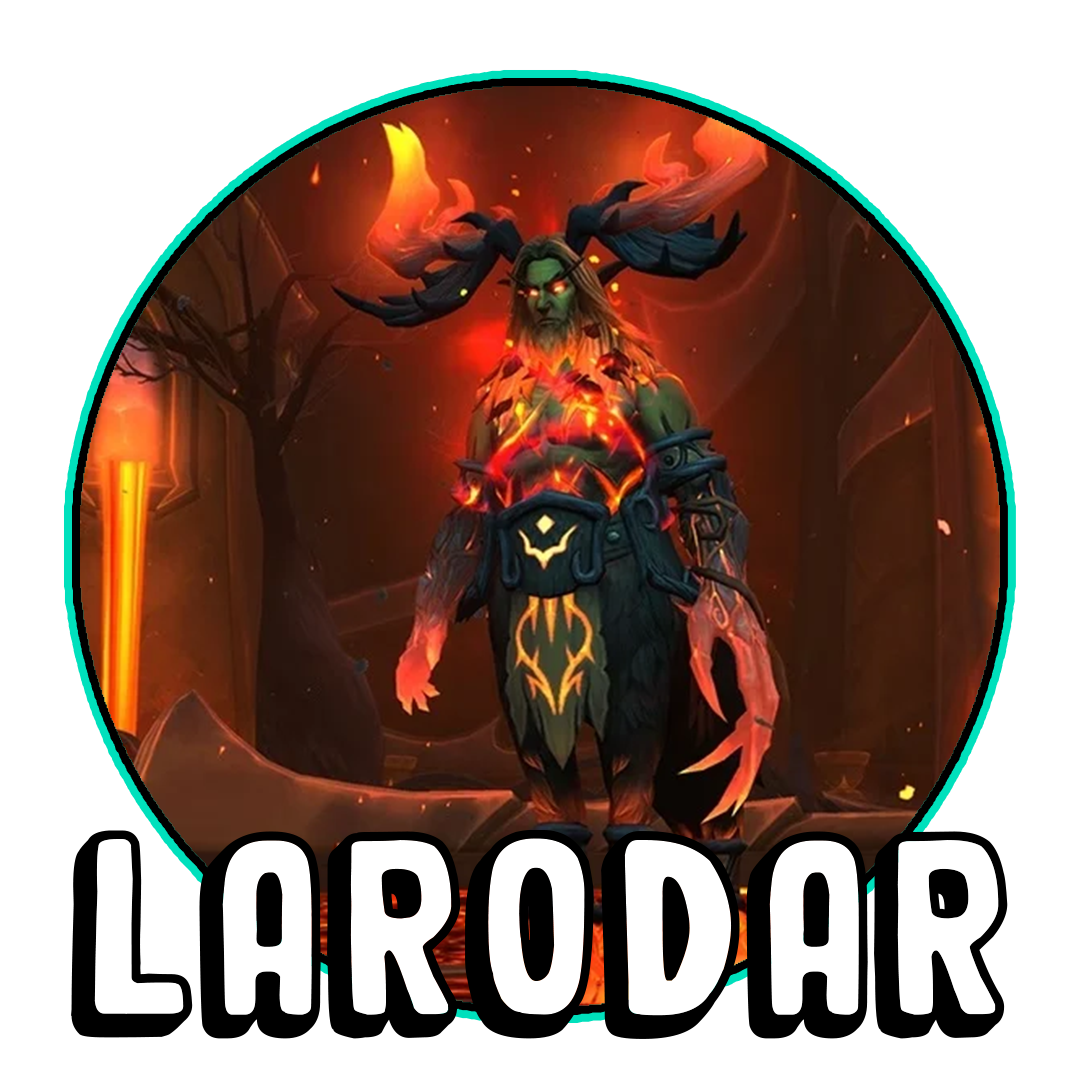
Larodar Simplified
Kill and heal any adds that appear, they take priority over the boss. Stand in green circle when it appears. Don’t get hit by tank frontal.
Use a defensive on the intermission.
Run away if you get a fire circle on you.
Be extra careful with taking damage. Any unnecessary damage on this fight can cost the healers precious brain capacity.
-
Two phases. This is the healcheck, so be nice to your healers.
Fire constantly spreads, some of which can be cleared in Phase 1.
-
Adds spawn, kill+interrupt adds. Once adds are dead, they can be healed in order to become friendly. They will then transfer their hp to the seed in the center of the room, so they need to be continuously healed.
When the seed has a good amount of energy stored, up to three players can click the seed and run near fire to act like a fire hose with a constant frontal. It’s recommended to do your first click when the boss spawns Scorching Roots as they will need to be doused in order to stop it from chasing players.
When Scorching Roots spawns, it must be immediately killed and healed. This will create a green circle that all players must stand in whenever the boss reaches 100 energy.
Occasionally, the boss will shoot out a bunch of swirlies in a neat floral pattern.
Boss will also charge at the current tank, dealing less damage the further he travels. This deals damage to anyone hit by the charge, so be careful. Tanks should taunt-swap during the cast of the charge.
-
Heavy raidwide damage and pull-in towards the boss.
If you’re very close to the boss, you take big big damage.
-
Fire can no longer be cleared, so kill the boss before the fire engulfs you all.
There will be small personal soaks periodically.
Additionally, the boss will spawn treants around the edges of the arena which will run towards you. Kill them before they reach you whenever possible.
Players will be marked by a heal absorb with a circle attached. This will deal heavy damage after 8 seconds if you’re stood in the circle and stun the player if the heal absorb was not cleared. The stun is dispellable.
Tankbuster is now a cone with a 100% healing decrease and a DoT but will allow the tank to heal from leeching nearby allies. The tank will need to be hit by it alone, then run near 2-4 allies to keep themselves alive.
Also there’s fire tornadoes. Don’t stand in the fire tornadoes.
-
Fire, mostly. Make sure to dodge the tank charge and otherwise anything orange.
-
Standing near other players with your fire circle in Phase 2.
This is a very healing intensive fight, so if you get hit by avoidable damage, that is more likely to kill yourself or others than most fights.
-
Yes.
-
During intermission. The raid takes the most damage and there are no mechanics to do.
🏆 Heroic Changes
The tank charge now deals raidwide damage when it lands, reduced by distance charged.
When Scorching Roots spawns, it must be immediately hit by a player who is acting as a fire hose before it can be killed and healed.
Each player can only click the seed once per fight. Need 3-9 players assigned for this.
The swirlies in phase 1 now spawns 5 orbs which move towards the boss and must be taken by a player. The player gets 20% crit for their trouble. Any un-taken orbs increase the boss’s damage for 10s.
Phase 2 treants now leave fire in their path, making it more important to kill them before they reach you.
Phase 2 Tank DoT is longer.
Council Simplified
Focus whichever boss is near the bear.
A few melee stand in bear charge. If you become a duck, run through green circles and use Preen ability to turn back.
When shielded, stand in a green circle.
-
One phase.
Kill all bosses within 15 sec of each other.
You can only move the bear.
Similarly to the Primal Council in VOTI, each boss’s base mechanic counters another boss’s ultimate.
-
Bear will charge at the current tank and deal raidwide damage, reduced by the amount of players hit by the charge. Essentially a soak but in a line. The tank should make sure the bear charges through the dryad to cancel her ultimate.
Dryad will launch green swirlies that leave puddles that pulse raidwide damage. Polymorphed players can safely stand in them to destroy them. The dragon’s ultimate will give you a shield that must be destroyed; Standing in a flower is the easiest way.
Dragon will turn random players into ducks. Each duck can destroy 3 flowers before transforming back. One duck should stay near the bear after eating flowers - Transforming back into human form at the bear will turn it into a duck and cancel his ultimate. If you transform back on another player, they will be disoriented.
Occasionally the dragon will do a slow pushback that deals heavy damage. Be topped up and don’t get knocked into flowers.
-
Not breaking your shield after the dragon’s ultimate.
(Heroic) Soaking two bear charges
(Heroic) Standing in tank frontal
-
Nothing really.
-
Pushback deals big damage.
Bear charge may deal a lot of damage depending on soaks.
Players will sometimes be poisoned, can be dispelled.
-
On pull.
🏆 Heroic Changes
Only soak every other bear charge or perish.
Bear’s tankbuster is now a cone.
Poly’d players will poly other nearby players after they’re back in human form.
Failing to kill them together heals them more.
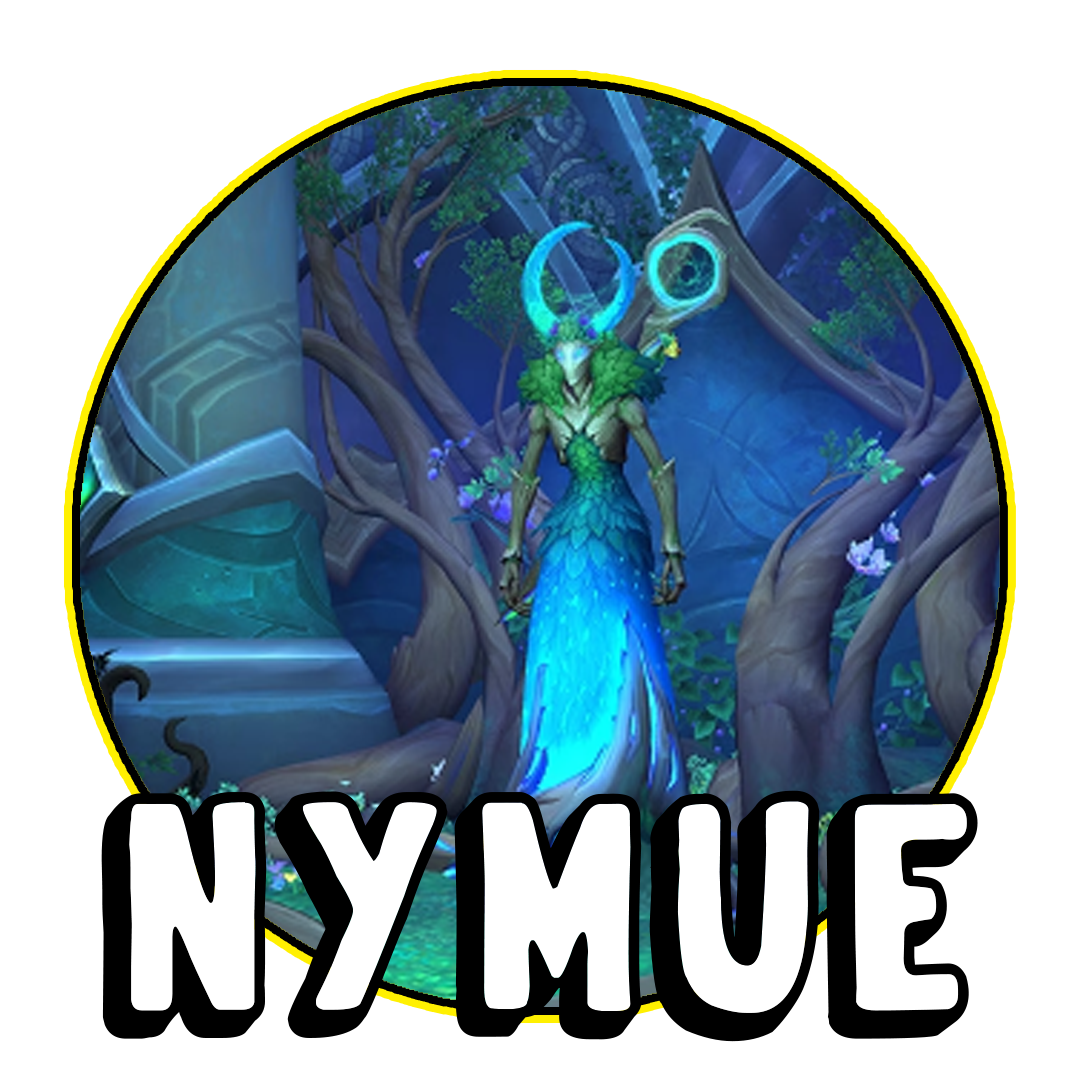
Nymue Simplified
Don’t cross the pretty lines.
Individually soak flowers on the ground.
Dodge horizontal lasers.
Split into groups in add phase.
-
Two repeating phases.
First against the boss.
Intermission phase against two adds.
Rise, repeat.
-
At the start, the boss will create bluegreen lines on the floor. Stepping over them causes a stacking DoT, so only cross when necessary. Ranged players should ideally spread at the start to deal with mechanics without crossing lines.
The boss will shoot out several horizontal lasers that expand the further they go. Dodge them, but be careful about crossing too many lines.
Several flowers appear around the room and pulse raidwide damage. Standing in them makes them go away - Solve like a personal soak. This happens constantly, so keep an eye out.
Tank will be marked with a circle. Take this out away from the raid. The player will be able to safely cross lines for 2s after the mechanic resolves and drops grass in their path, which lets other players cross safely as well.
-
At 100 energy, Phase 2 begins. Split raid in half and have tanks stand in the boss’s explosion as they will create safe grass paths like the tank mechanic in Phase 1, so the raid can safely reach their adds.
If an add crosses a line, the raid will almost assuredly wipe. Each add shoots swirlies in a flower pattern and has an occasional frontal, just dodge the bad. The boss deals ramping raidwide damage, so kill them asap.
Killing the adds gives you another grass buff to safely cross lines. Get back to the boss and repeat Phase 1
-
Passing lines on the ground frequently. It’s about 120k damage over 2s per stack.
Getting hit by horizontal lasers in Phase 1.
-
Nothing on normal.
Dropping your impassable wall near the group on Heroic.
-
Unavoidable raidwide damage while personal soaks are up.
Ramping raidwide damage in the add phase.
-
On pull.
🏆 Heroic Changes
The tank mechanic now applies to several other players and creates an impassable wall. Make sure these go to the edges or the back of the arena.
Note: This mechanic causes the target to take double damage for 20s, so be extra careful with them.
The adds’ frontal now spawns the personal-soak flowers from Phase 1.
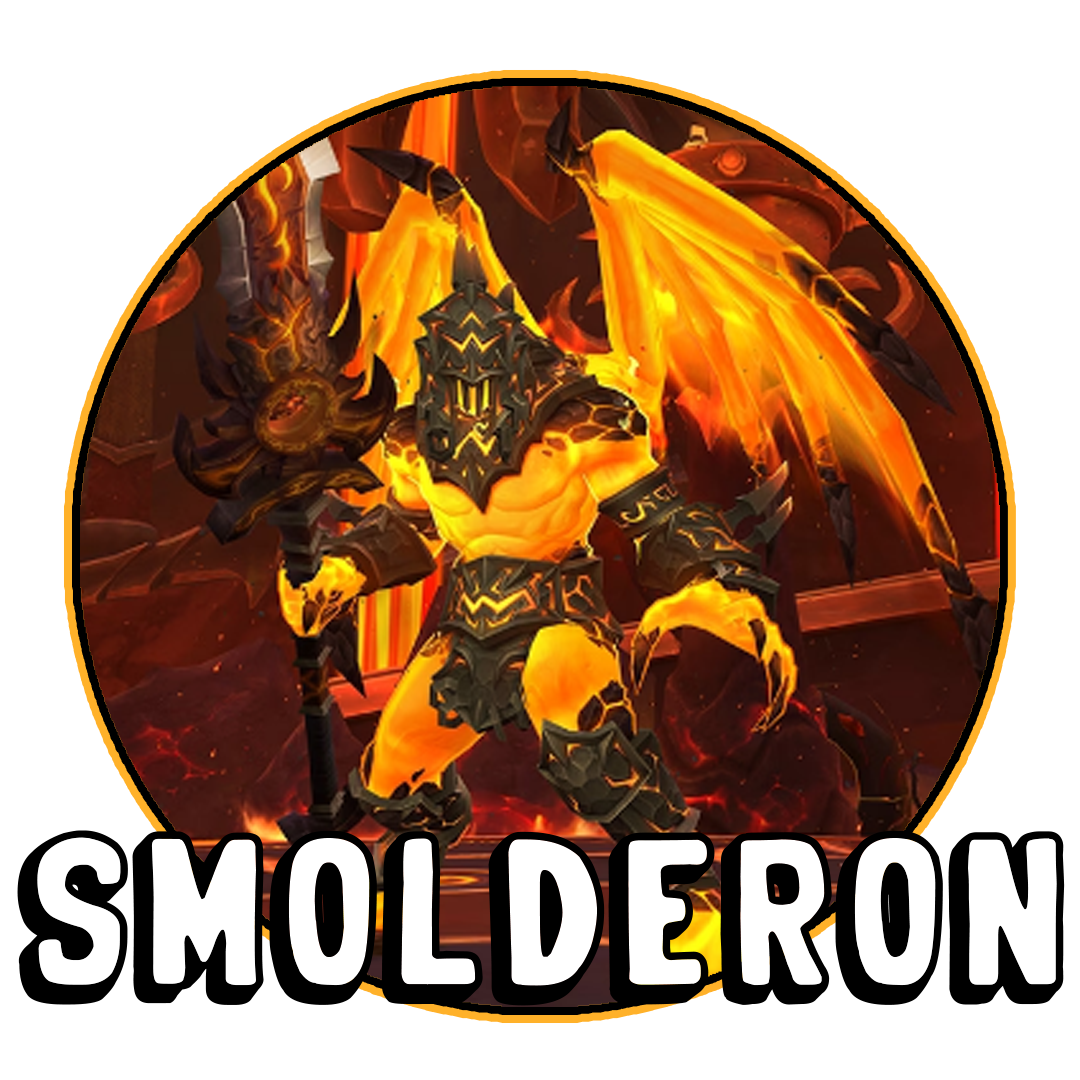
Smolderon Simplified
Keep the boss and all players near the edge of the arena.
Run away if you have a fire circle on you. Soak if you don’t.
During intermission, run over your fire orbs and burst the boss while dodging the fire rings.
-
Phase 1, intermission, repeat.
You get 6 intermissions on Normal.
4 intermissions on Heroic.
-
Half the raid will be targeted by fire circles, run them out. Next time this happens, it will be the other half of the raid. Smolderon chooses the players, so no tactical choices here.
The other half of the raid will deal with a big soak on the tank. Soaking this will cause you to spawn fire orbs in the intermission which increases your damage when taken. Stand in fire, DPS higher.
The soak applies a heal absorb. When the absorb is popped, it will leave a fire explosion that goes off 3s later, just dodge it.
(Depending how hard it is to pop these simultaneously, it may help to stack all the affected players so the explosions are in the same spot. Will test.)
The boss sometimes stomps and baits permanent lava pools on random players. Have the raid stand together near the edge of the arena when not resolving other mechanics. Make sure you are never in the middle OR ahead of where the boss is being pulled.
-
The boss will be idle in the middle of the arena, pulsing with damage and causing exploding rings around the arena. Dodge these and watch your health.
Everyone who soaked in Phase 1 will spawn individual fire orbs that only they can see. Grab them for a DPS increase.
-
Anything orange. Everything is pretty well indicated, so it’s a test of your dodging skills more than mechanical knowledge.
-
Standing in the middle of the arena. If a lava puddle drops on you there, it will make the fight much harder.
Not soaking the soak. It hits very hard if not enough players soak, and you won’t get your DPS increasing orbs in the intermission if you miss it.
-
The soak hits like a truck and puts a heal absorb on everyone affected.
Constant ticking damage. More harder damage in intermission.
-
Intermission. Ideally the last one you see, when the boss is in Execute range.
🏆 Heroic Changes
The fire circles that target half the raid will now shoot tornadoes towards the player’s front and sides. Dropping them near the edge will make some tornadoes simply fly off into oblivion.
Soak now causes the tank to explode with proximity damage after some time. Help them run if they’re slow (a DK).
Failing to grab your orbs in the intermission will increase the boss’s damage by 3% per orb.
Enrage happens after 4 intermissions.
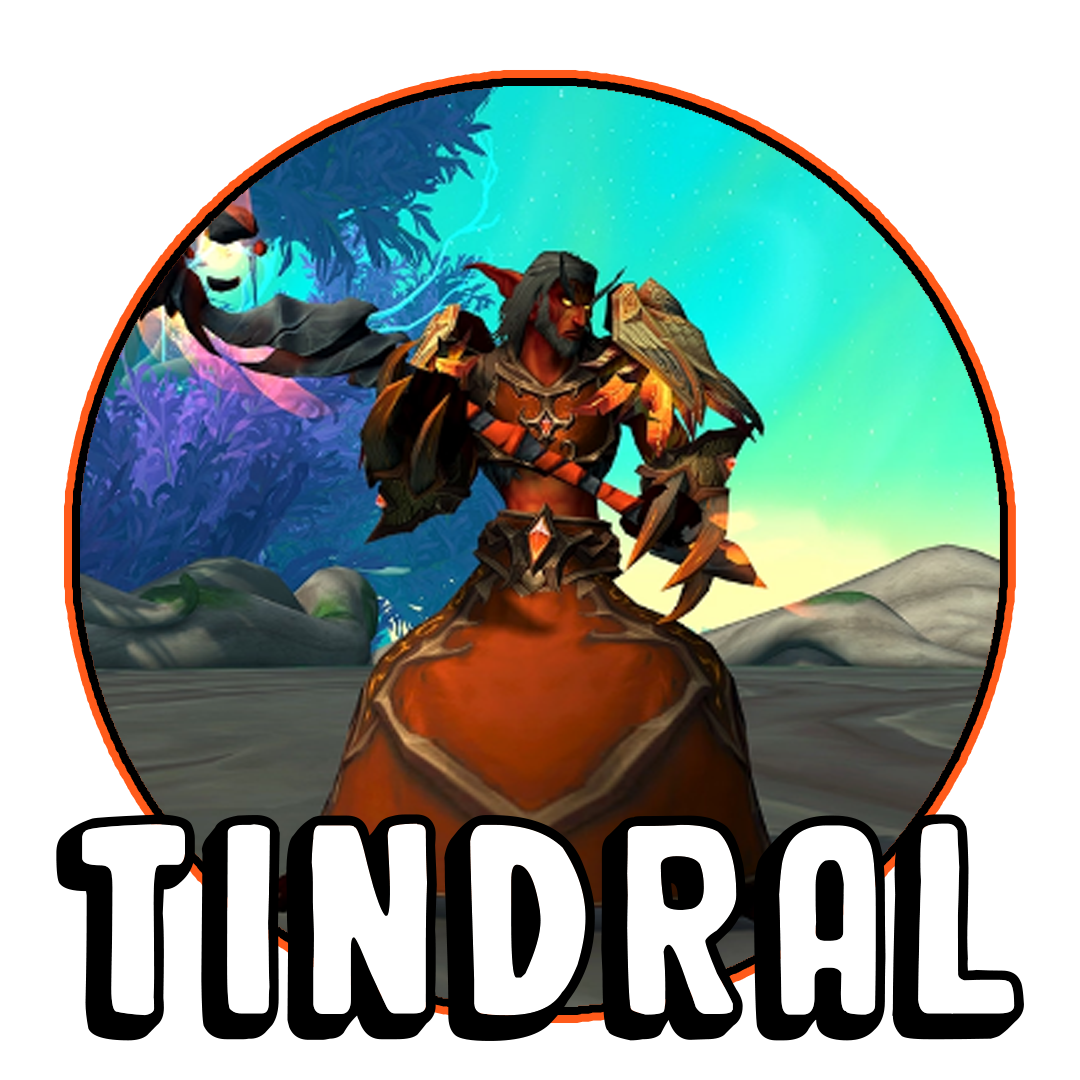
Tindral Simplified
Be close to the boss, closely spread with fire circles and kill entangling roots.
In P2/3, step on seeds (watch your hp!).
Run away with Fiery Growth debuff.
In intermission, fly through green orbs.
-
Three phases with dragonriding intermissions in between each phase.
-
Please Note: A lot of the boss’s mechanics will overlap.
The boss will mark all players with a fire circle that explodes and spawns roots to be killed. Stack closely near the boss and kill the roots quickly, as other mechanics will happen shortly after. Anti-root abilities are hugely beneficial here.
The boss shoots out blue swirlies that appear on the platform and need to be dodged.
Some players will take a dispellable DoT that must be run out of the raid. On dispelling, it will leave a fire pool on the ground for the rest of the phase. If you can coordinate it, stacking them up and using a mass dispel is very helpful.
Mushrooms will spawn one after the other and must be soaked by a tank. Do not stand in these if you are not a tank. One tank will take the first and third, the other will take the second and fourth in order to avoid dying to the vulnerability debuff they give. The same tank cannot take two in a row, so alternate the mushrooms.
-
In addition to everything in the ‘All Phases’ section, the boss now occasionally summons several moving solar beams from the sky. Dodge these as they move around.
Just before the solar beams, he bursts raidwide damage.
-
Dragonriding wooooo! The boss will fly away and you can walk over a feather to mount up.
Fly to the boss’s new platform, but make sure to fly through green orbs on the way. These orbs are a shared responsibility, so if you miss one someone else can likely take it.
Each orb taken will increase the whole raid’s damage and healing and leaves a speed boost in its place.
Don’t fly into the fire orbs. Fire bad.
When you land, the boss has a shield that must be broken so you can interrupt his cast or the raid will wipe.
-
In addition to everything in the ‘All Phases’ section, the boss will pulse with damage and drop fire swirlies near him. These spawn seeds that deal damage when you step over them, but spawn a tree that deals raidwide damage if you don’t; Step on all of them where possible but watch your health.
He also applies a heal absorb on random players.
-
Same as the other phases, except now he does all of the abilities.
-
Standing in the mushroom soak as a non-tank.
Running over too many seeds without watching your health.
Standing too far from the rest of the raid before being entangled. It will be much harder to get you free.
Sky lazers.
-
Not running away if you are targeted by the Fiery Growth debuff. It spawns a permanent puddle of fire.
Not stepping on any seeds. They all need to be taken care of, or you will take massive raidwide damage for the rest of the phase.
-
Dispel on Fiery Growth, but wait until they’re a distance away from the group.
Raidwide damage whenever the boss enters Moonkin form. Randomly targeted heal absorbs when he enters Treant form.
-
Phase 3.
🏆 Heroic Changes
More solar beams in Moonkin phases.
Stepping on multiple seeds in Treant phases causes increasing damage. Avoid taking more than 2 before the debuff drops off you.
The trees are now permanent if you fail to step on any seeds, likely wiping the raid.
The intermission shield is much bigger, making it more important to grab all the green orbs for big deepz.
Fyrakk Simplified
Drop fire pools near pre-existing fire. Run away from flame rift.
Soak fire orbs in the intermission.
Kill adds as priority in Phase 2. Dodge the breath.
Grab a seed in Phase 3 if you are confident you can dodge well. Use the seed during Apocalypse Roar or stack up with a player who did. If you get a circle, run to the edge.
-
Three phases with an Intermission after Phase 1.
-
For the purposes of giving direction, Amirdrassil the tree, is considered the north of the platform.
Several roots are near the tree. If they are hit by fire, you wipe. Tank the boss somewhere southward.
Fire puddles will appear at the far southern part of the arena. This happens several times, giving you less and less space to stand in.
Several players will be marked by circles. These circles leave fire puddles that expand, so drop these by the pre-existing fire puddles to the south.
A fire rift will spawn at the boss that deals pulsing proximity damage. Run away.
Several players will be marked with a dispellable, permanent ramping DoT. According to Maximum, it’s enough players that you will have to prioritise, but I don’t know how he knows this.
Tankbuster shoots a frontal fireball. Point boss away and swap.
-
Big absorb shield on boss as he tries to burn down the tree. Break the shield or wipe. He pulses ramping damage during this.
Orbs will spawn from the P1 fire puddles. They must be taken by players or else the boss will deal massive raidwide damage. Spread out behind the boss to cover all angles.
-
Amirdrassil’s roots disappear and the fire does as well. Leaves a lot of room to work with.
The tree has HP in this phase. If it dies, you die.
Friendly adds will spawn and run towards the tree, giving the tree their HP. Healers must heal these adds as close to full as possible in order to heal the tree most effectively. Once an add reaches full health, they take 99% reduced damage so you can leave them be.
Two colossus adds will spawn that take priority. If they reach full energy, they will explode and wipe.
Fyrakk will sometimes fly across the middle of the platform (think Razageth intermission breaths) that spawn small adds that pulse damage. Kill any of them that are in the path of your friendly adds ASAP. Kill the rest when convenient.
-
The tree no longer matters. Main mechanic is to survive a raidwide one-shot mechanic by picking up seeds near the boss and using an extra action button during the raidwide cast. If a player picks up a seed and gets hit by a mechanic, the seed will explode which deals damage and prevents you from using it.
If you are holding a seed and are targeted by a mechanic, you can drop the seed with the extra action button.
The last set of fire swirlies hit the floor around 2 seconds before the raidwide cast, so make sure you don’t stack too early.
There will be fire meteors to dodge and a frontal breath in this phase. Additionally, players will be marked by a circle that drops a moving tornado; Get this as far away as you can.
The tankbuster also hits for 2.4m damage, and leaves a permanent stacking DoT.
-
Standing in the breath in Phase 2 or 3. Standing in front of the boss (except Phase 3).
-
Placing your fire puddle on the roots in Phase 1.
Not taking any fire orbs in the intermission.
Picking up a seed in Phase 3 and being hit by any other mechanic. They are a precious resource.
Dropping your tornadoes close to the raid in Phase 3.
-
Dispels in Phase 1.
Small burst of damage after running away from the rift.
Pulsing raidwide damage in intermission.
Healing friendly adds in Phase 2 takes priority, but the colossus adds also pulse with damage. Discuss ahead of time who will be doing what.
Huge damage from the raidwide in Phase 3, even if done correctly.
-
Phase 3. Maybe intermission if you can’t beat the dps check. TBD
🏆 Heroic Changes
In all phases, a player will sometimes be marked by Blaze. This will shoot out from two sides of the player the player. It is very clearly indicated but there's several going off around the same time. Make sure this doesn't hit Amirdrassil roots in P1, friendly adds in P2, or seedbearers in P3.


